
Last Updated on June 4, 2025 by PorchLightReading
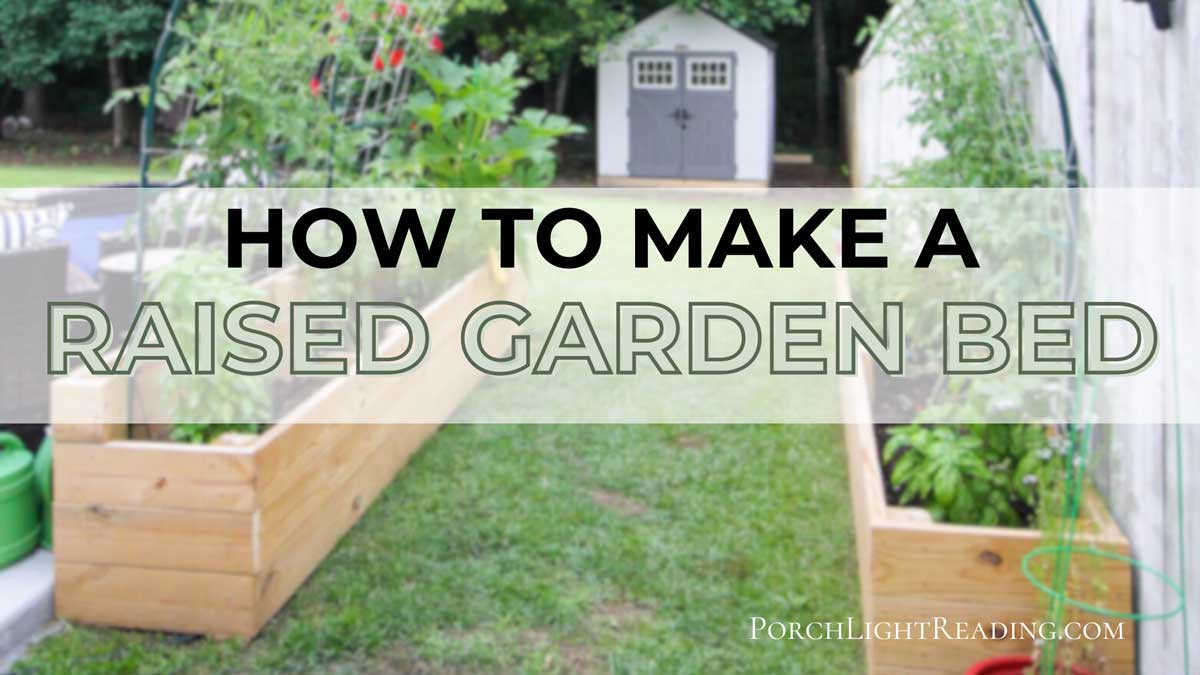
How to build a raised garden bed. Easy DIY tutorial with materials list, tools, step by step directions, and other helpful tips.
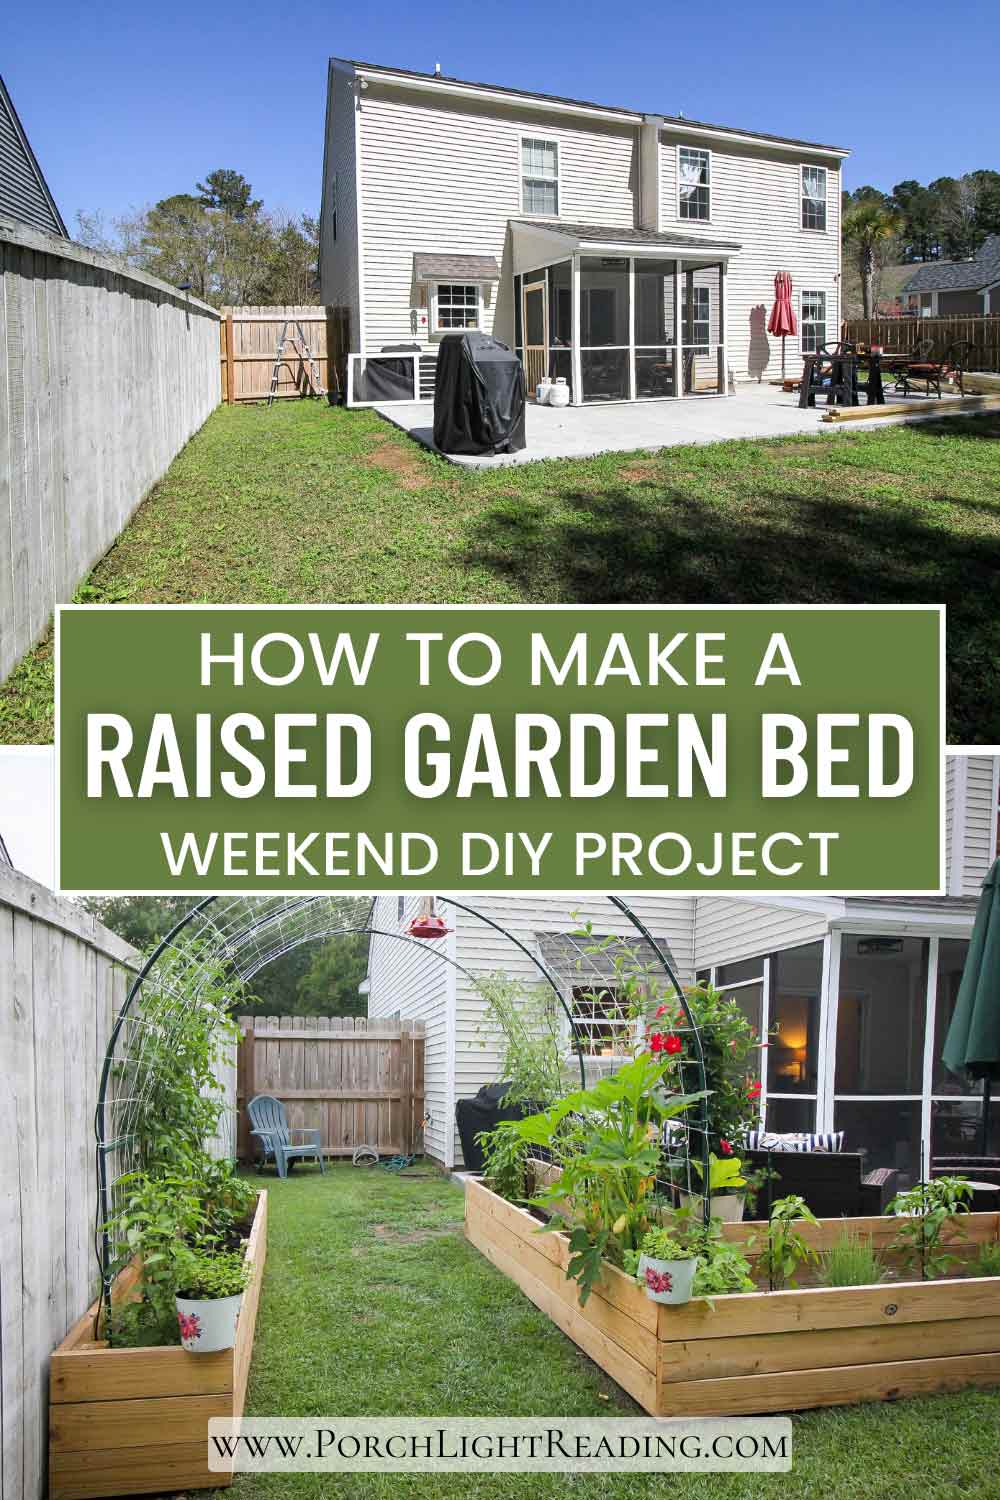
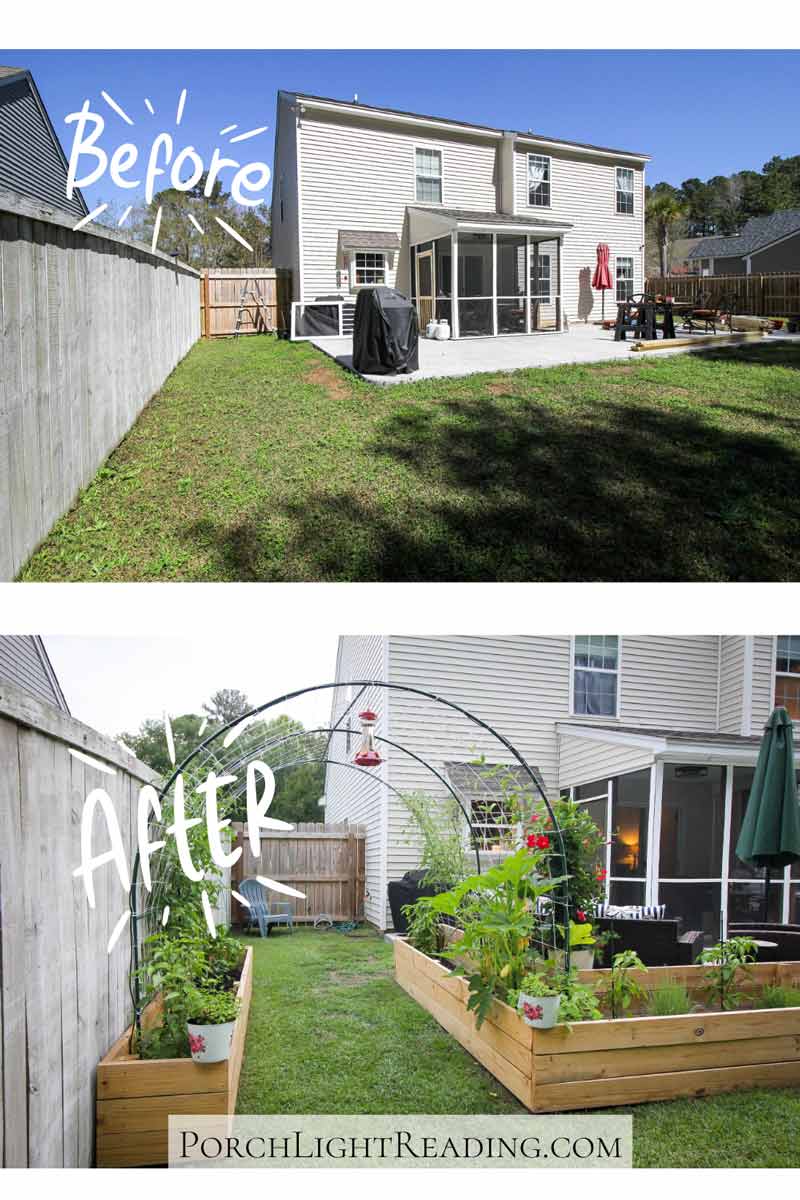
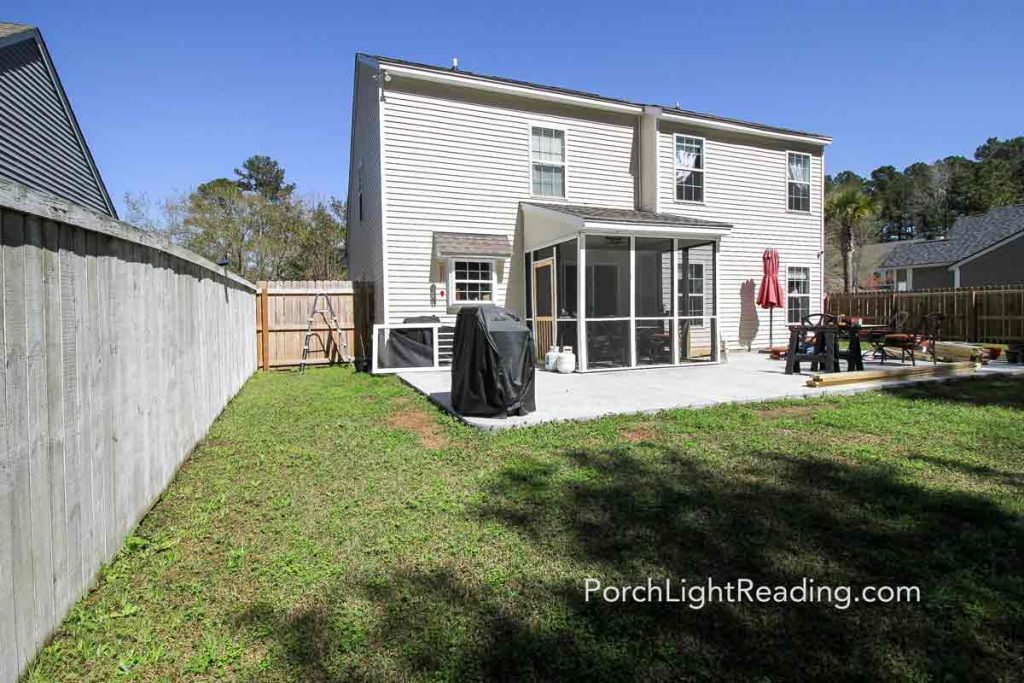
We’ve done it again! Another house, another garden. It’s officially been a year since moving into our new home and it’s beginning to look a lot more like us.
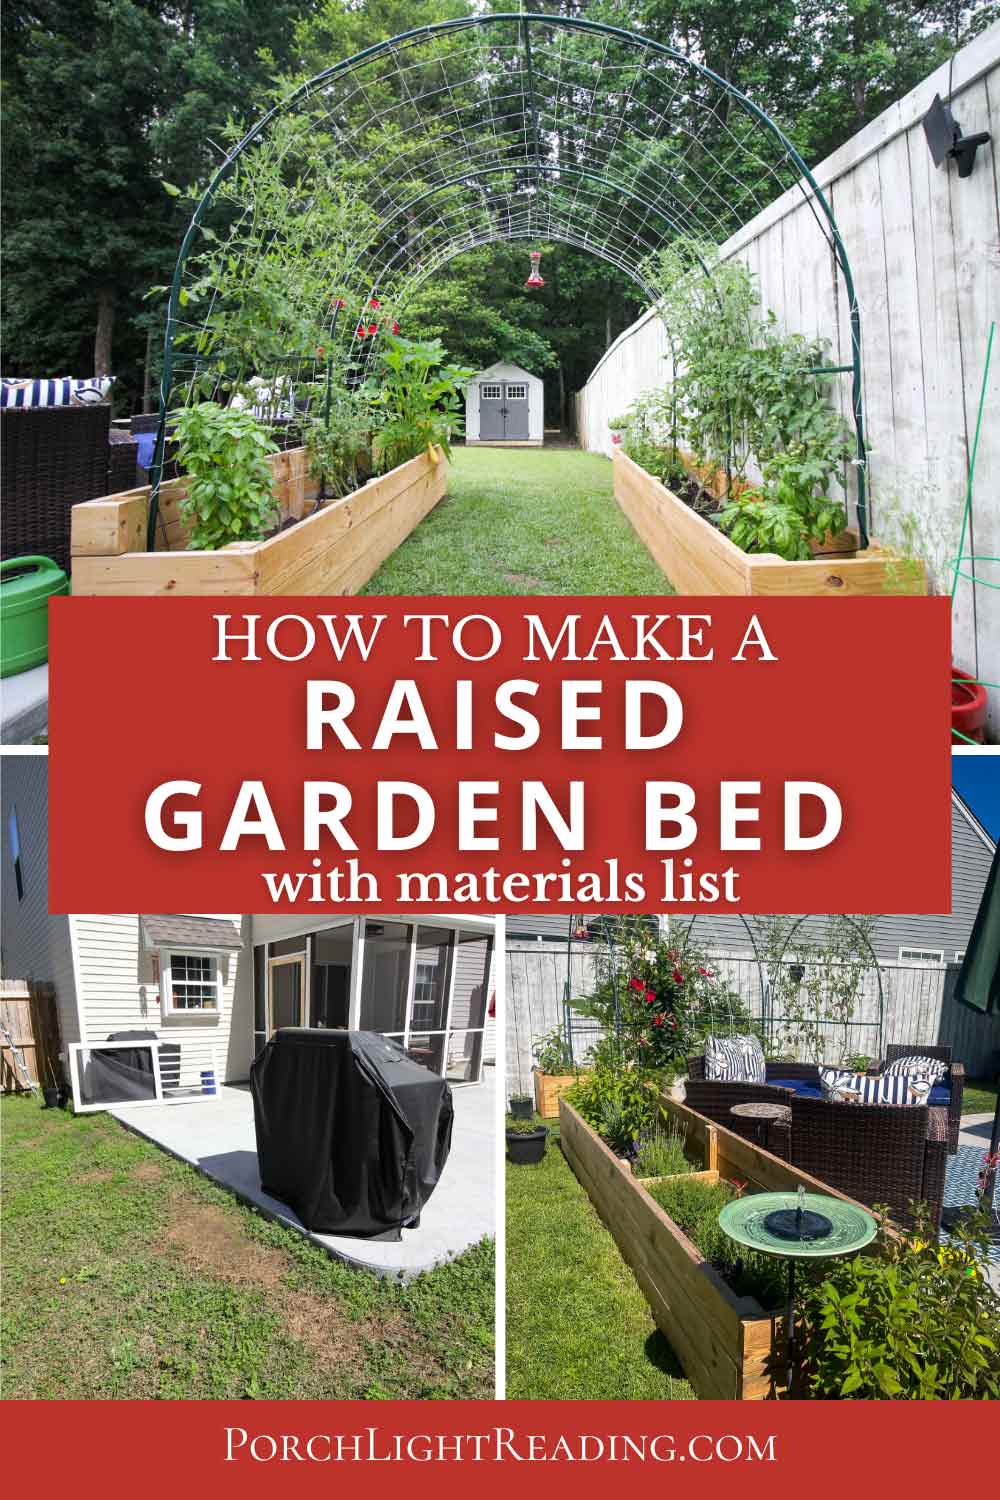
The once empty backyard has been christened with sawdust and DIY projects including this raised garden bed with trellis archway. But we’re not new to this empty backyard business, oh no. What feels like a few short years ago, we were building our first DIY raised garden bed with herb shelf and hanging baskets!
Follow us on…
This post may contain affiliate links. As an Amazon associate I earn from qualifying purchases at no additional cost to you.
- Table of Contents: How to build a raised garden bed
- Materials list and tools
- Step by step building guide
- FAQ’s
- Easy vegetables to grow for beginners
- Tips for success
The house may have changed but our enthusiasm to create and get crafty is still in full effect. Well, I draw something and about 3 months later I finally convince my husband that we could DIY the project ourselves.
This outdoor project, however, was an easy one to convince him on, since he loves gardening and even has a brimmed hat to prove it.
This is our own personal experience. Be sure to seek professional guidance and practice tool safety.
How To Build a Raised Garden Bed
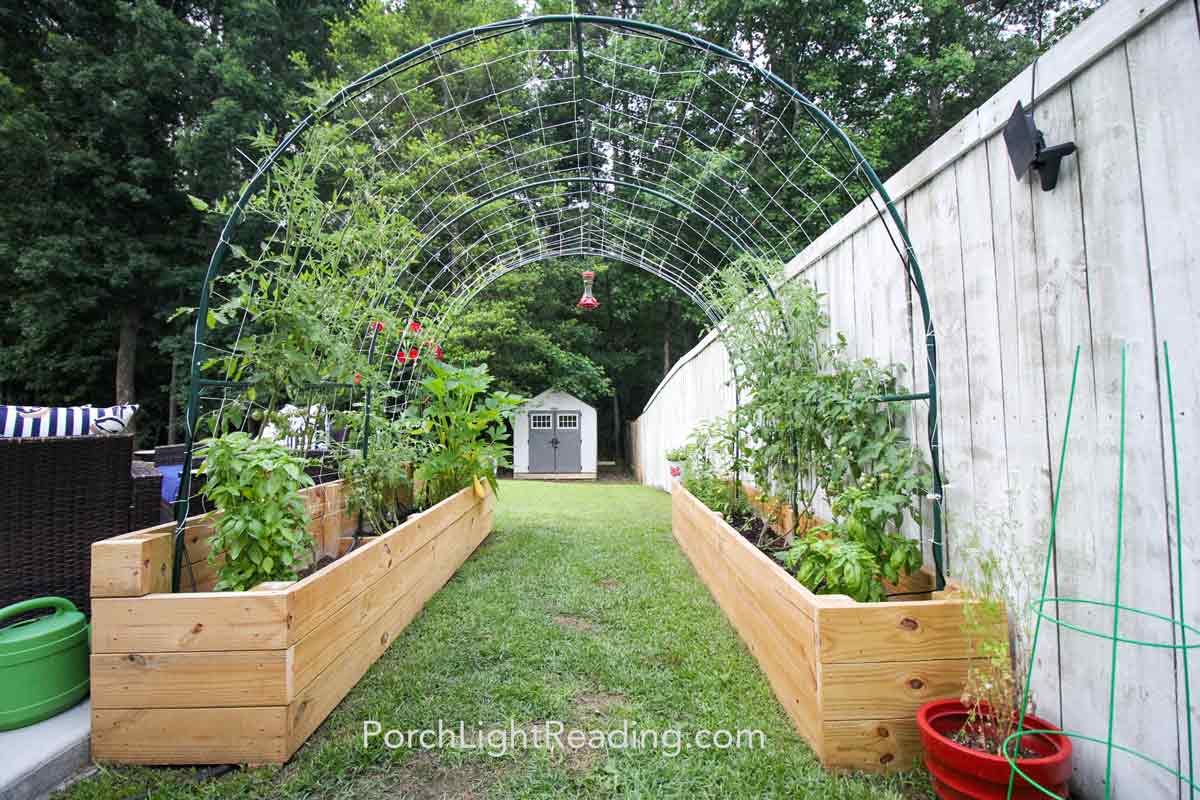
The plans for the backyard were put into place, and although these ideas will take a few years to come together, it’s nice to get a bit of a start. Our first outdoor project was a simple raised garden bed. Simple until we decided to make two garden beds side by side. You know, we should also just wrap it around our patio to create a focal point and designated seating area. While we’re at it, we should put an arch trellis for flowers and climbing vegetables.
It was a simple raised garden bed until we saw even more potential. The building supplies were purchased and we got to work.
Materials list and tools
Todays pressure treated wood is considered safe for raised garden beds as the chemicals to treat the wood has changed over the years. However, cedar is a great option and naturally rot resistant.
Note- You’ll see that the following materials list offers materials for two different garden beds. The first list is the materials to make one 8’x4′ garden bed that is 16.5 inches high. The second materials list is the exact materials we used to make our large L-shapped garden bed that is 12’x8′ and 20 inches wide, and a second, smaller box that is 8′ by 20″ wide. Both our boxes are also 16.5 inches with a taller back to frame and define our large concrete patio area. They are a bit over the top but amazing!
If you are framing a large area like we are, than the second materials list might be more of what you need, if you are wanting a simple materials list for a smaller garden bed, then the first list will be more of what you are looking for. Be sure to do your own measuring for your yard.
- Materials for one 8’x4′ foot garden bed- 16.5 inches high
- 9- 2″x6″x8′ pressure treated boards
- 1- 4″x4″x8′ pressure treated
- 1- 2″x4″x8′ pressure treaded
- 3 inch galvanized deck screws
- Materials we used to make one large L-Shapped garden bed and one 8’x 20 inch garden bed.
- 5- 2″x6″x12′ pressure treated boards
- 7- 2″x6″x10′ pressure treated boards
- 10- 2″x6″x8′ pressure treated boards
- 2- 2″x4″x8′ pressure treated boards
- 2- 4″x4″x8′ pressure treated boards (we used these to secure the corners of the garden bed frame)
- 3 inch galvanized deck screws
- 8 Foot Garden Trellis (optional) Amazon find!
- Tools we used
- Circular saw
- Impact driver
- Measuring tape and pencil
- Level
- Speed square
- Rubber mallet
- Sawhorse
- Clamps
- Shovel (to prepare location)
- Safety glasses
Step by step guide to building a raised garden bed
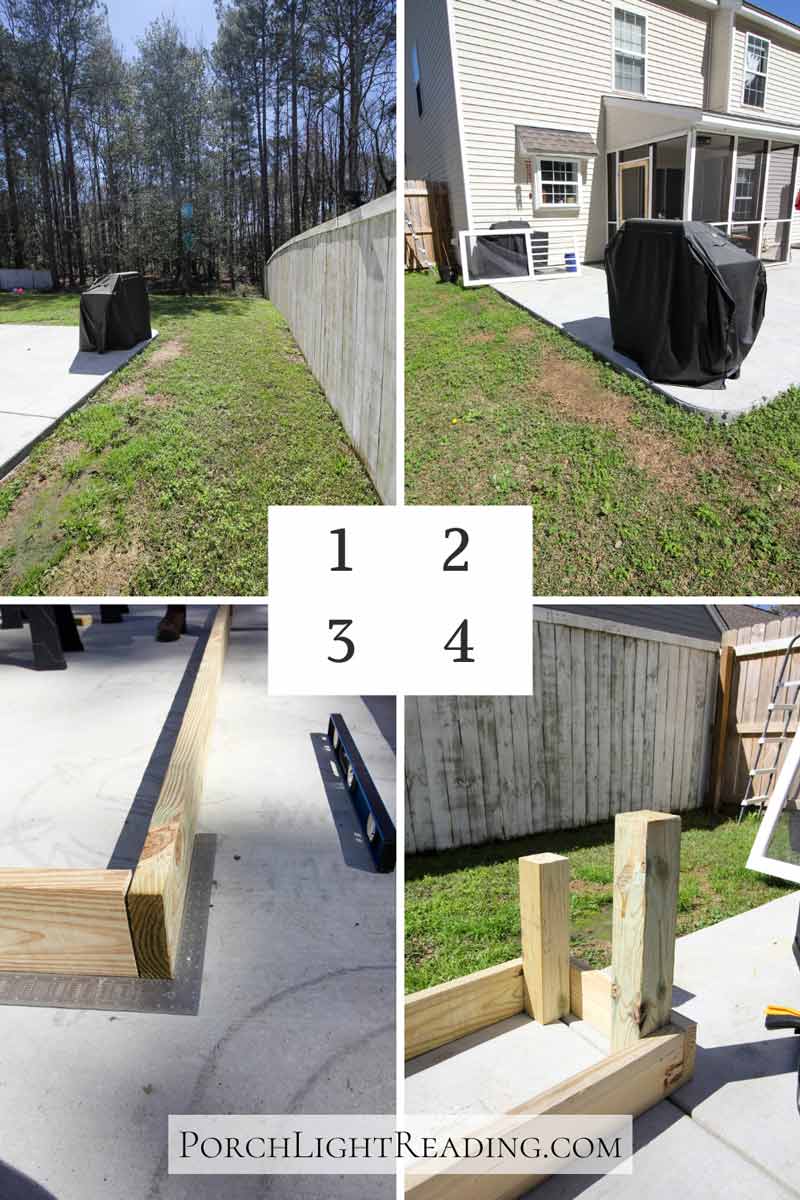
Choose the location– Pick a level spot in the yard that gets at least 6-8 hours of sunlight daily. The more sun, the better for vegetables like tomatoes and peppers. Be sure to choose a location that drains well and doesn’t get waterlogged.
Prepare the site– If your yard isn’t perfectly level, use a shovel to smooth out the area before building. Prep the area by removing any rocks, roots, and grass.
Cut the boards to size– Using a tape measure and speed square, mark and cut the boards to their appropriate lengths.
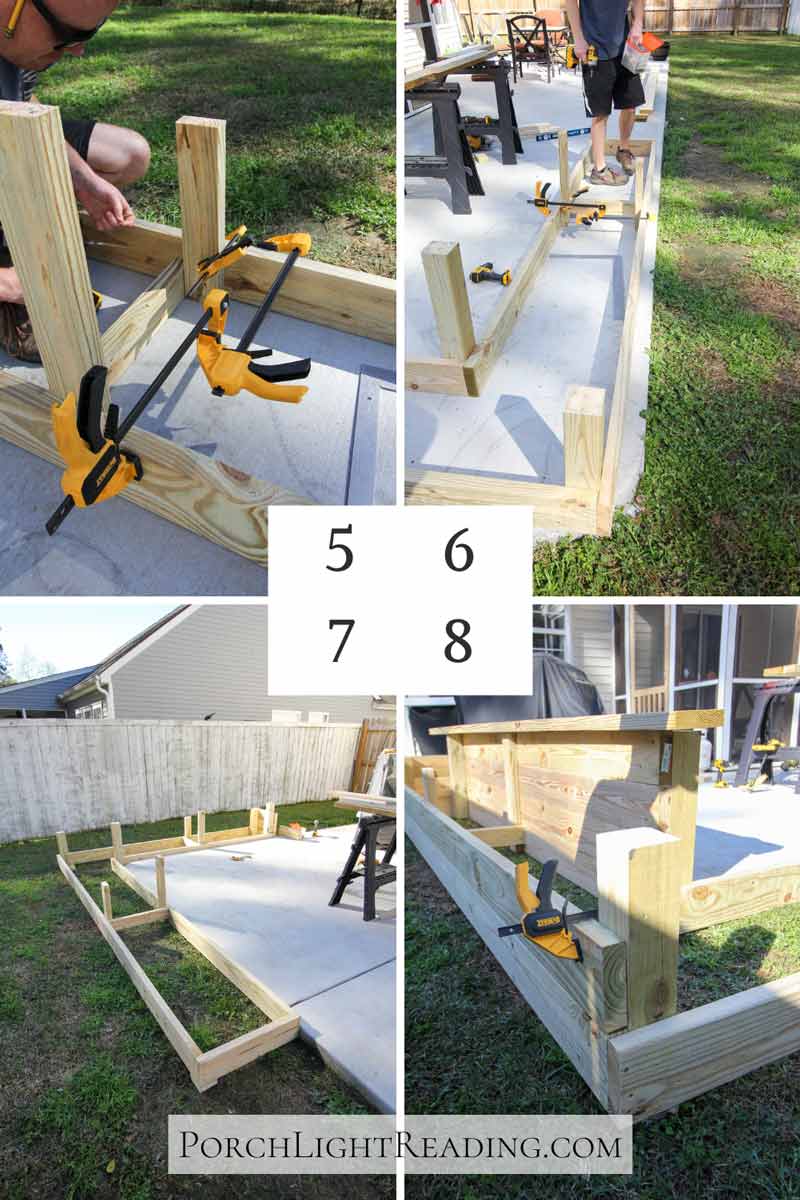
Assemble the frame– Position the boards to form a rectangle and secure them at the corners using the 3-inch deck screws. Use a frame square to check that the corners are aligned properly.
Add corner and side stakes– At this point you’ll want to add stakes for added stability. Cut 2″x4″ stakes and drive them into the ground around each corner and along the longer sides to prevent bowing under soil pressure. For this step we used 4″x4″s at each corner and additional 2″x4″ supports along the middle of the garden bed.
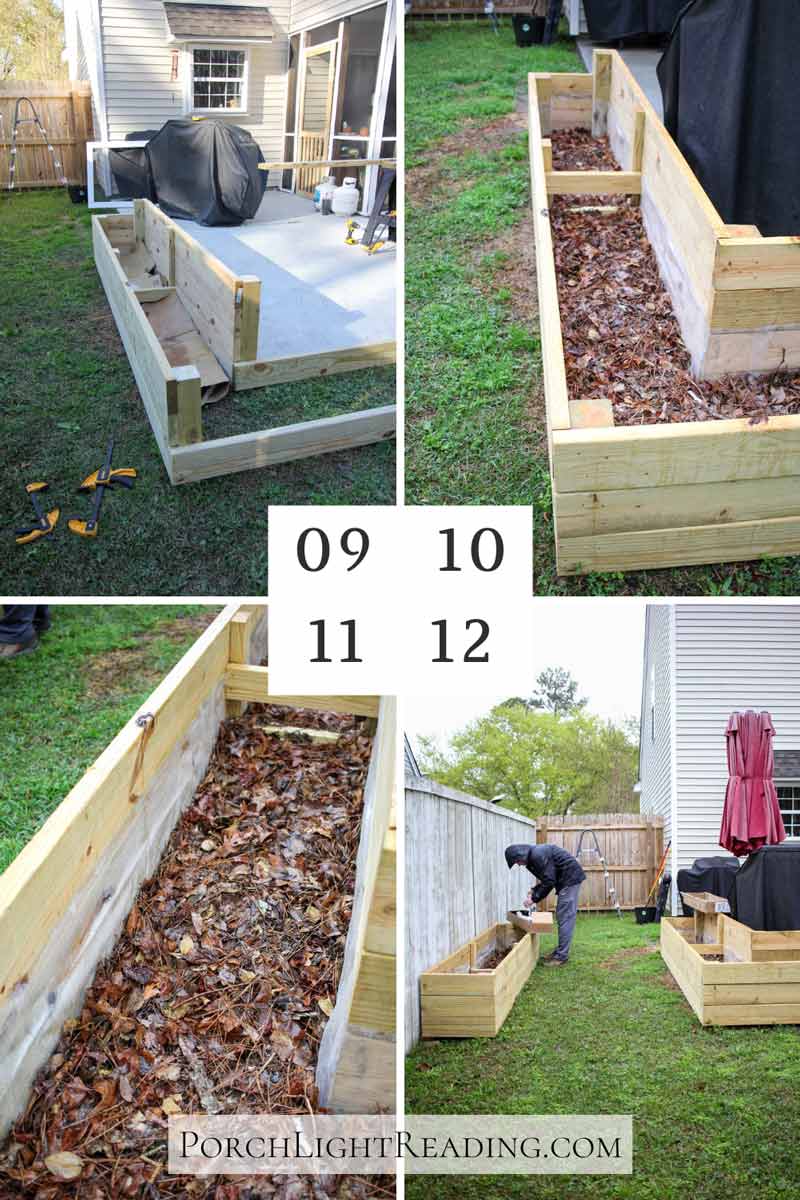
Add the second layer of boards- Stack and secure the next layer of boards along the first, aligning and fastening them with screws. Repeat until you reach the desired height. For our project we went up three levels and added a fourth level along the back patio area as a barrier for our furniture.
Trim excess stakes– Use a reciprocating saw to cut any stakes sticking out above the top of the edge of the garden bed.
Add a lip (optional)– For added convenience, attach 2″x4″ boards or decking around the top edge of the bed to serve as a sturdy ledge for sitting or placing tools.
Fill with soil– Use a mix of quality soil, compost, and organic matter to fill your raised garden bed. For our raised garden bed we used a layer of cardboard on the bottom to act as a week barrier. Then we raked and used our leaves to help fill the bottom of the bed before topping it off with compost and topsoil.
Related Posts:


FAQs How To Build a Raised Garden Bed
Pressure-treated wood is durable, but if you prefer chemical-free options, cedar is an excellent alternative.
For our project we did use pressure treated wood. Although that was once frowned upon, the formula they now use to treat the wood has changed and is considered safe for raised garden beds. However, since you can’t be too careful, we used a clear shower curtain and stapled it along the insides of the wood where the soil meets the frame.
A depth of 12-16 inches is ideal for most vegetables, allowing roots to grow deep.
Use landscape fabric or cardboard at the bottom of the bed before adding soil.
A width of 4 feet or less is recommend for easy access to the center without stepping inside the bed.
Easy vegetables to grow in a raised garden bed
- Lettuce and spinach- Quick growing and low maintenance.
- Tomatoes- Perfect for summer gardens. Be sure to use a small trellis for support.
- Carrots- Loose raised bed soil makes them grow straight and long.
- Bell peppers- These need lots of sun but thrive in raised garden beds!
- Herbs- Try your luck with a few herbs such as rosemary, thyme, and oregano.
Tips for added success
Raised beds prevent water-logging by improving drainage, which is especially beneficial in areas prone to heavy rainfall. They also help warm the soil faster in early spring and late fall, extending the growing season.
- Use corner brackets for extra durability, especially if you’re building a larger bed.
- Water wisely- Raised beds drain faster than in-ground gardens, so water constantly, especially in the hot weather.
- Rotate crops- To keep the soil healthy, plant different vegetables each season.
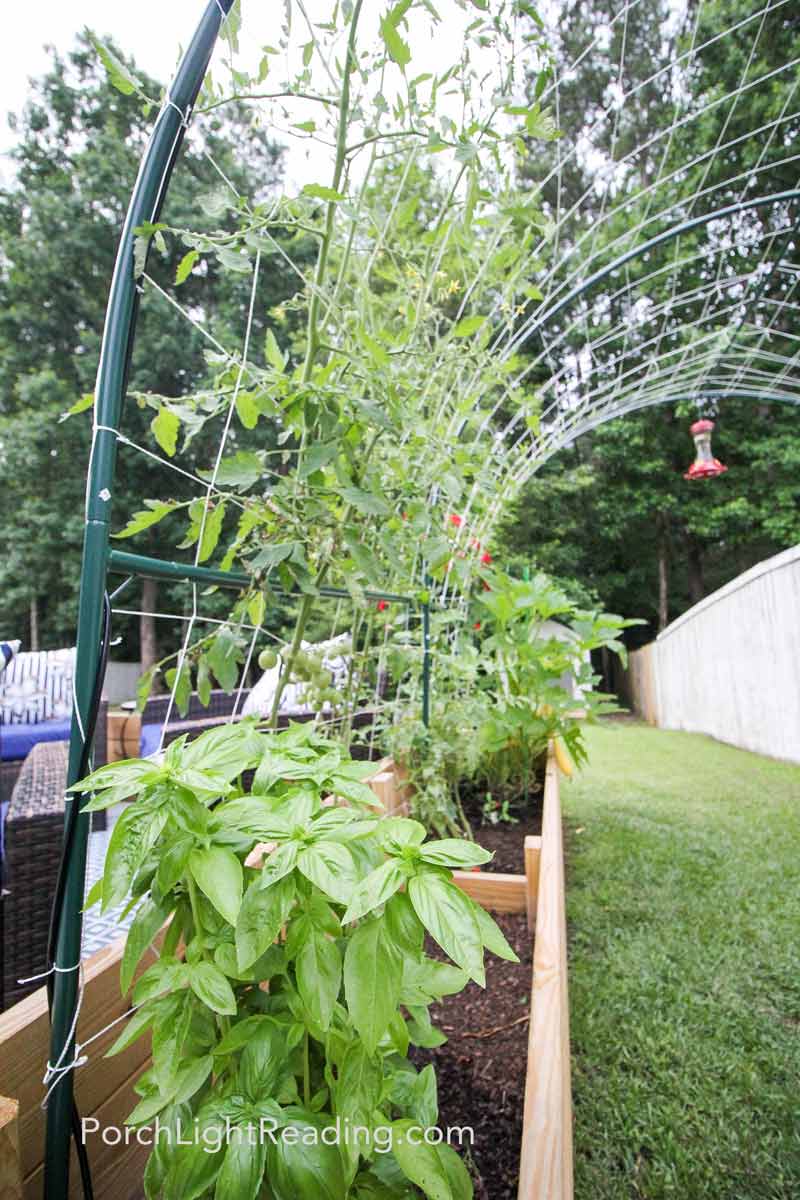
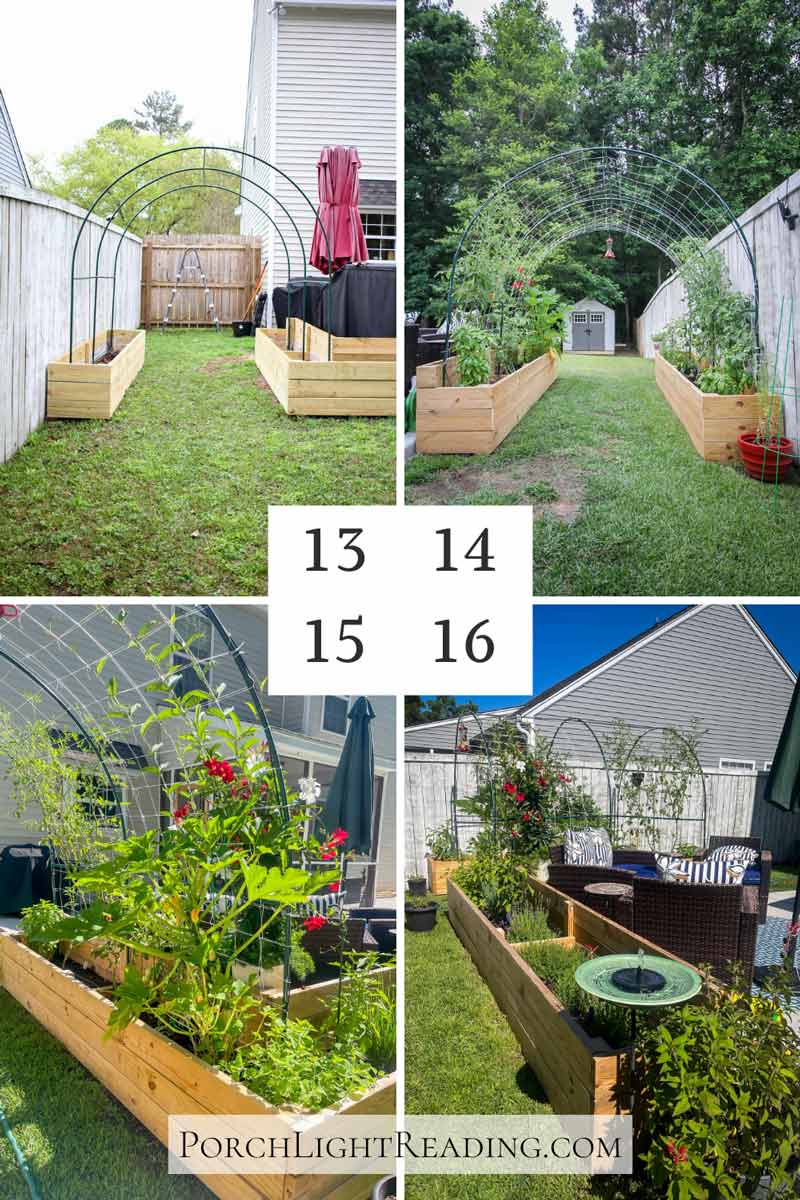
Day after day we’d watch our little garden grow from small little sprouts to having a shaded trellis archway filled with tomatoes and Mandevilla flowers climbing around the frame.
The little seating area on the patio bumps up against the garden beds, making for easy snacking, fragrant flowers, and even a little natural shade. Humming birds, bees, and critters of every kind make their way over to the trellis and bird bath for a quick dip and look around. It became a Saturday morning tradition to sit as quietly as possible while sipping our morning coffee and having the Merlin app listen for the different types of birds around us.
And wouldn’t you know, the kids whistles are starting to sound just like the bird calls. We’ll see you on our next project!
You also might like…


Back to Home and Garden
Back to Home Page
Like this garden idea? Save this post to Pinterest for later by clicking the Pin below!