
Last Updated on June 4, 2025 by PorchLightReading
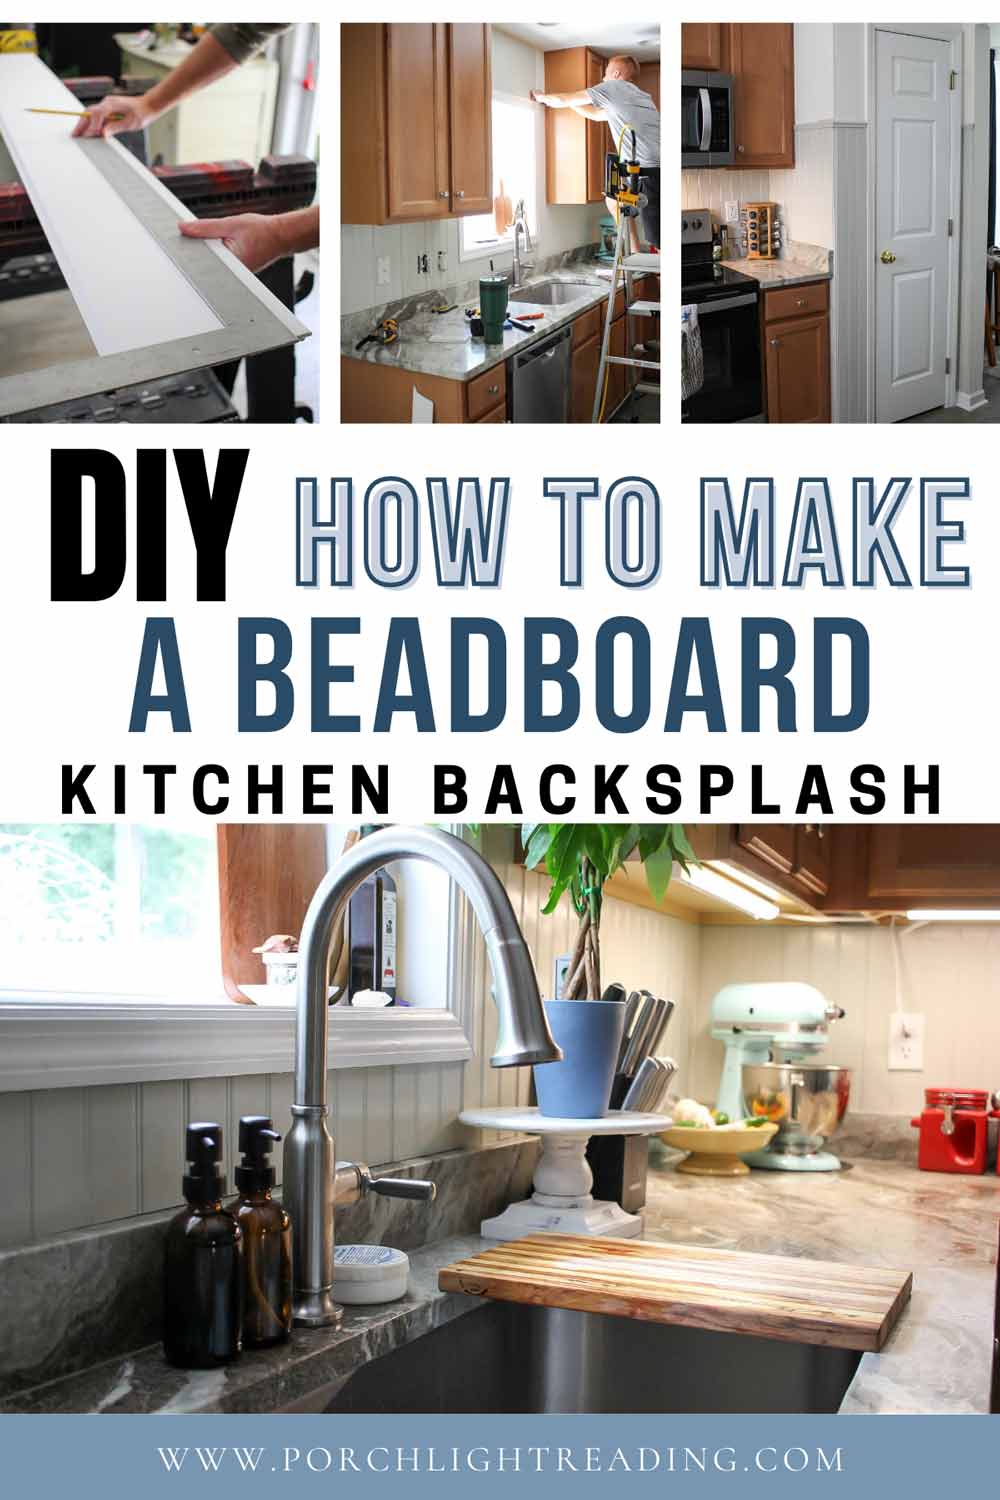
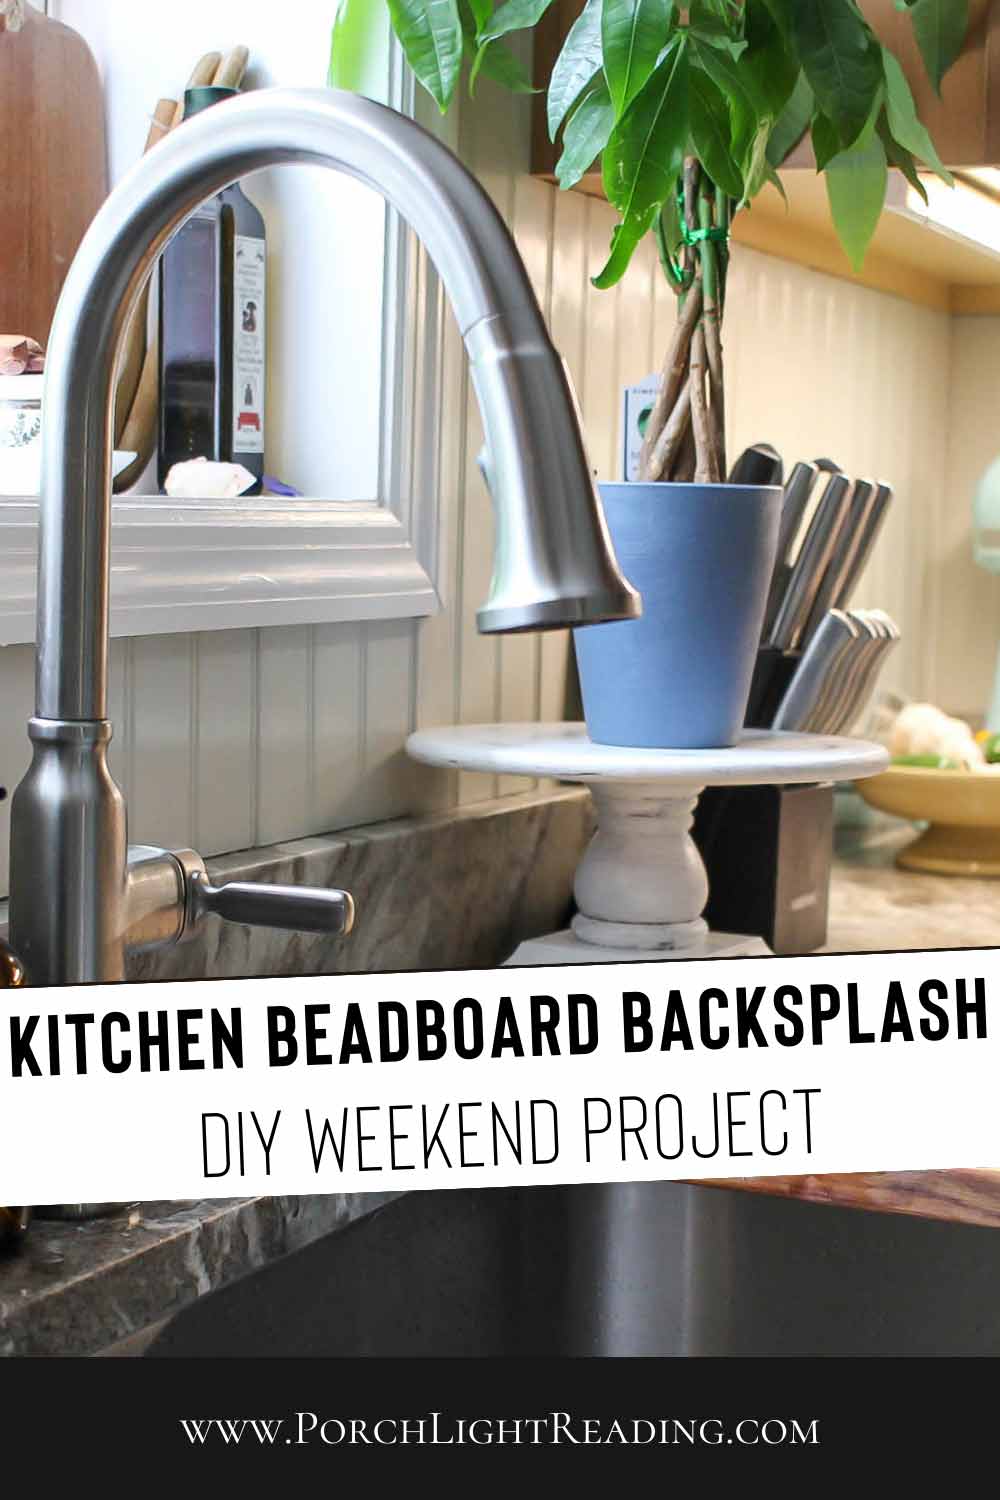
Beadboard backsplash installation. How we installed a simple kitchen backsplash with PVC beadboard planks to give our new home a warm and coastal feel.
Our new (to us) home didn’t come with a backsplash in the kitchen area. We didn’t think too much about it until a few months after moving in when we realized how difficult it was to clean the walls in the kitchen.
Not only do we have paint throughout kitchen, it’s a white matte paint. The most unforgiving paint you could possibly have in a kitchen and practically impossible to clean. White matte paint behind the stove, above the sink, next to the pantry, ect. One splatter in the wrong direction and it was game over.
Time for a DIY backsplash on a budget.
This post may contain affiliate links. As an Amazon associate I earn from qualifying purchases at no additional cost to you.
- Table of Contents: Beadboard Backsplash Installation
- Materials List
- Tools
- What type of paint to choose
- How to install a beadboard backsplash
- Cutting around the electrical outlet
- Beadboard around kitchen window
- Beadboard pantry
- Did we install beadboard behind the refrigerator
- Covering the brad nails
- How to cover the plank seams
- Chalking and trim
- Before and after photo gallery
- Beadboard installation tips
Since we’re still settling in from the move, we’re trying to be mindful of our budget. So that means we needed to complete this DIY project without breaking the bank and by using the tools we already have on hand.
This is our own personal experience. It is advised to seek professional guidance and always practice tool safety.
BEADBOARD BACKSPLASH INSTALLATION
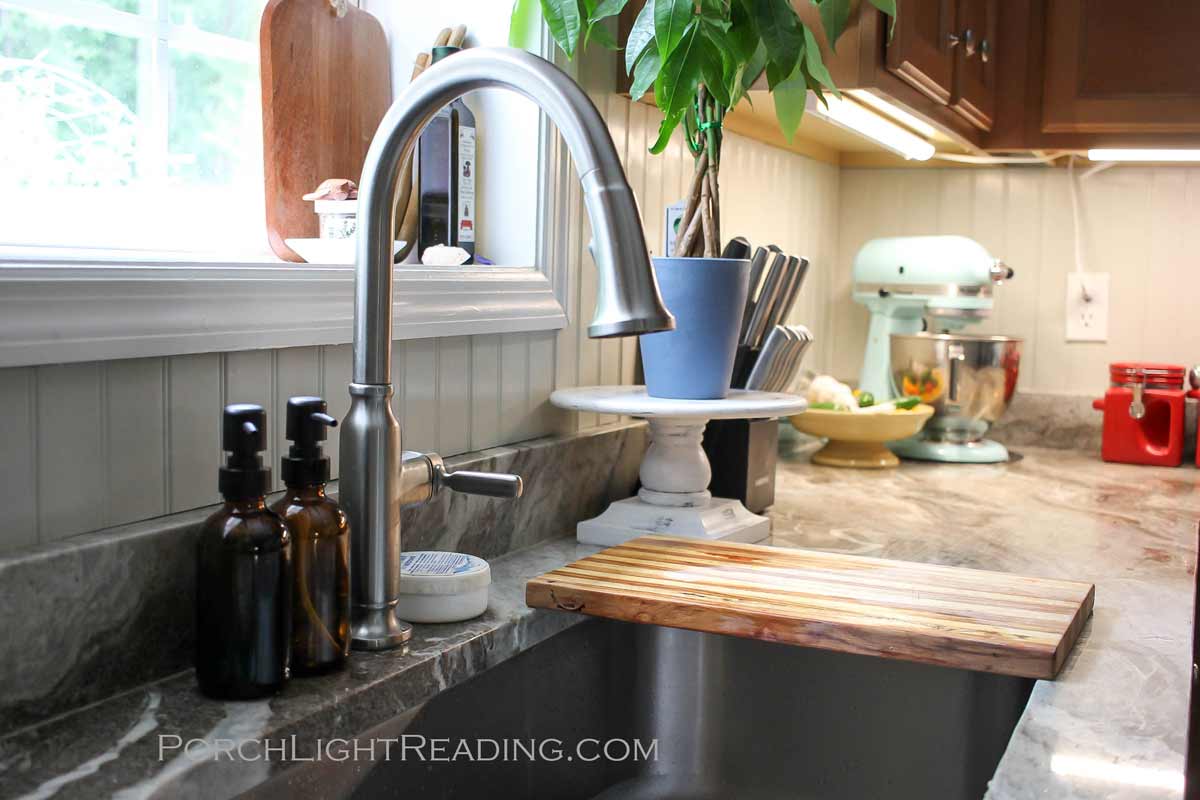
I’ve always loved the look of beadboard. It gives a warm and inviting look that is subtle and flexible with different styles since it can easily be repainted. With the right finish of paint, it is also simple to wipe down and keep clean from any splatters that may happen while cooking in the kitchen.
Beadboard can be purchased from the home improvement store a few different ways. Either with full 4’x8′ beadboard sheets, single PVC beadboards planks, or a package of three PVC beadboard planks that are 5 inch by 8 feet long. Since somehow we still do not have a table saw, we decided it would be easiest for us to make our DIY backsplash using the tongue and groove PVC beadbaord planks.
*Note- Want the look without the tools? Try this paintable beadboard wallpaper from Amazon!
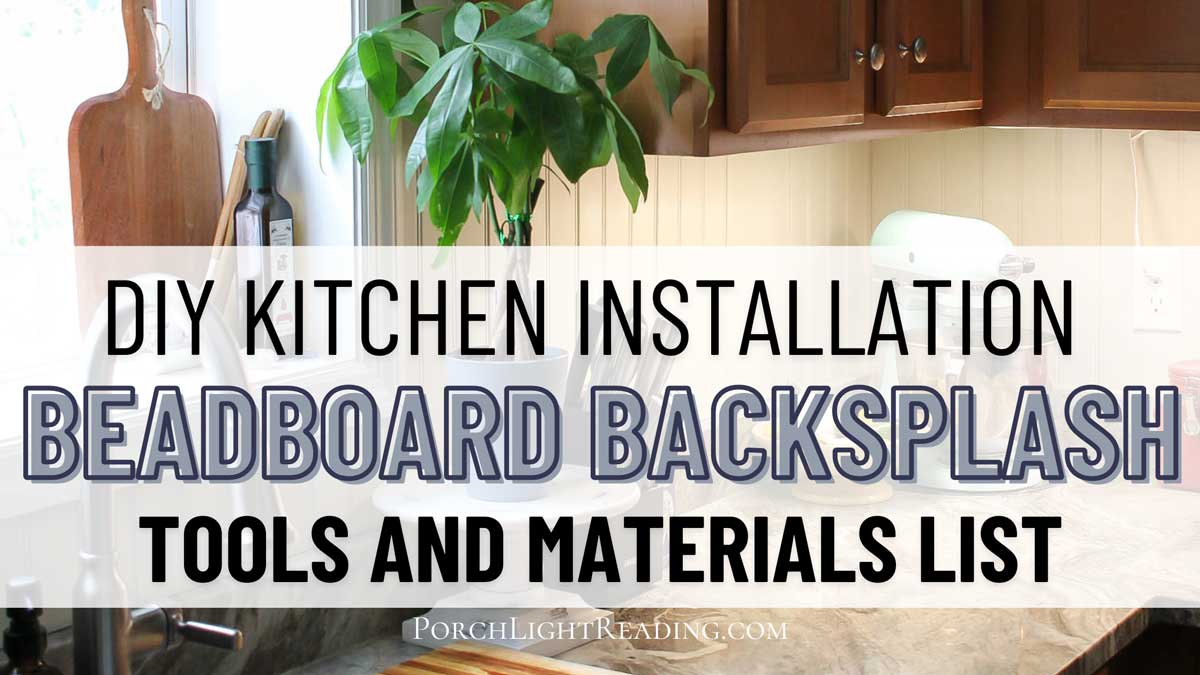
MATERIALS LIST
- PVC beadboard planks
- Trim
- Chalking
- Wood filler
- Paint
- Pencil
TOOLS
- Jigsaw
- Miter saw
- Oscillating tool
- Brad nailer + nails + compressor
- Level
- Square
- Speed square
- Tape measure
- Saw horse
- Paint brush
- Putty knife
- Safety glasses
- AC voltage detector
WHAT TYPE OF PAINT TO USE FOR BEADBOARD BACKSPLASH
If you’ve ever boughten paint from the home improvement store, then you know it can come in several different finishes that range from a flat matte all the way to a high gloss. The reason these finishes are so important is for look, sheen, and ease of cleaning.
A flat paint can hide wall imperfections since it does not reflect light. However, it is less durable and difficult to clean, making it the least desirable paint to have in a kitchen.
A semi-gloss paint has a smooth reflective sheen with a higher resistance to moisture, making it a better choice for kitchens and bathrooms. It’s also easier to wipe down and to keep clean.
For this beadboard backsplash installation we used a semi-gloss paint and primer in the color Useful Grey.
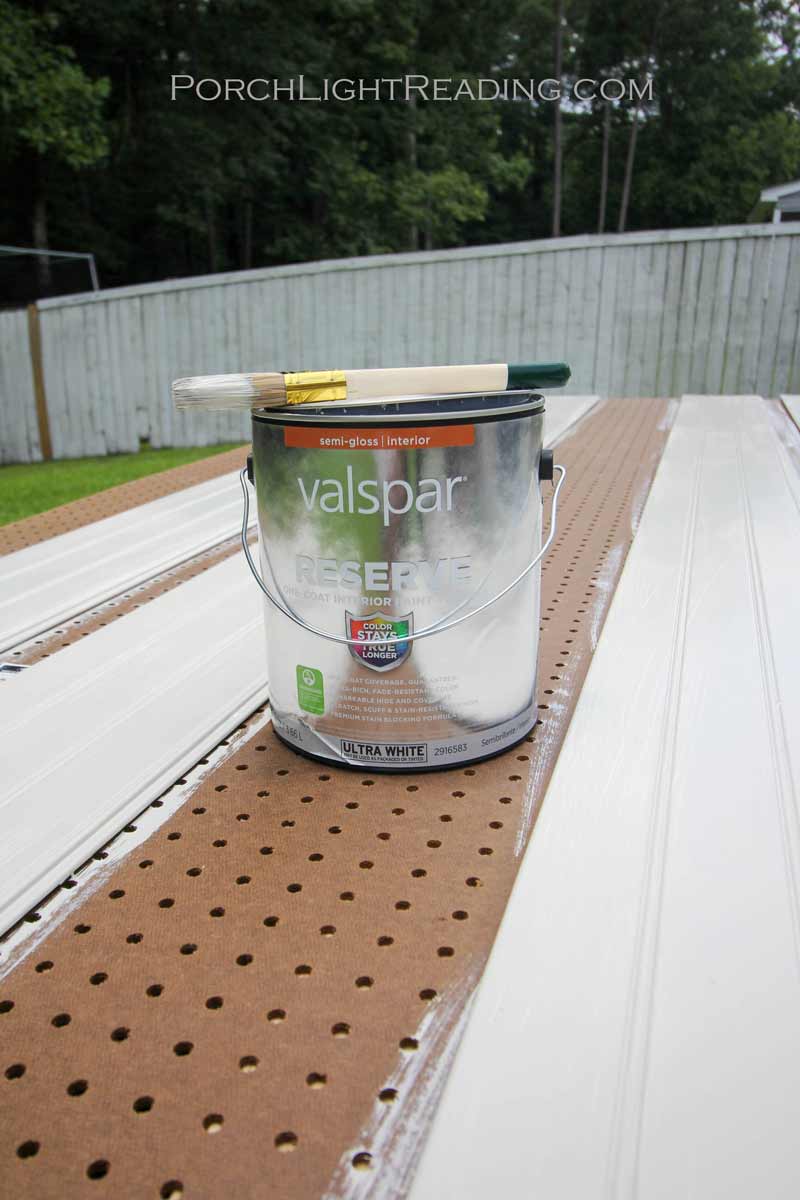
We measured approximately how many planks we needed to finish this project with a few extra planks for any mistakes we might encounter along the way.
Then we set up our saw horses outside and painted each plank before starting this project. For each plank we used three coats of paint. A bit more than I expected but this is also a slick PVC, so even though two might have been ok, three coats were able to cover any missed areas inside the grooves.

HOW TO INSTALL A BEADBOARD BACKSPLASH
Once our planks were fully dry we began our project.
First we removed everything from the kitchen that was along the counters and furniture that would be in the way of moving around freely.
Then we shut off all power to the kitchen by switching off the kitchen breakers, keeping in mind that the garbage disposal (switch) also has a breaker that needed to be turned off for safety. We then used our AC voltage detector to check that all power was off and removed the outlet covers.
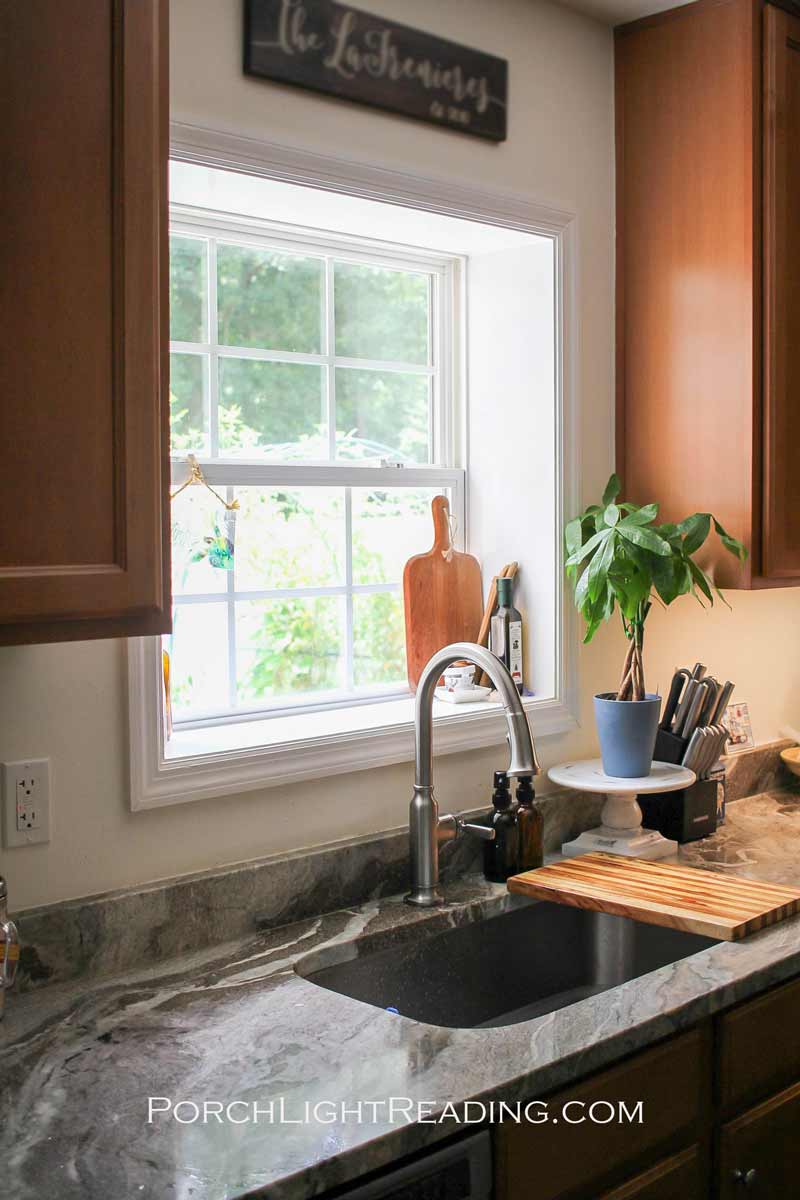
For this beadboard backsplash instillation we decided on having our wall go up 60 inches from our baseboards to add a bit of height to our kitchen. We made our first cut with the miter saw and the project was officially started.
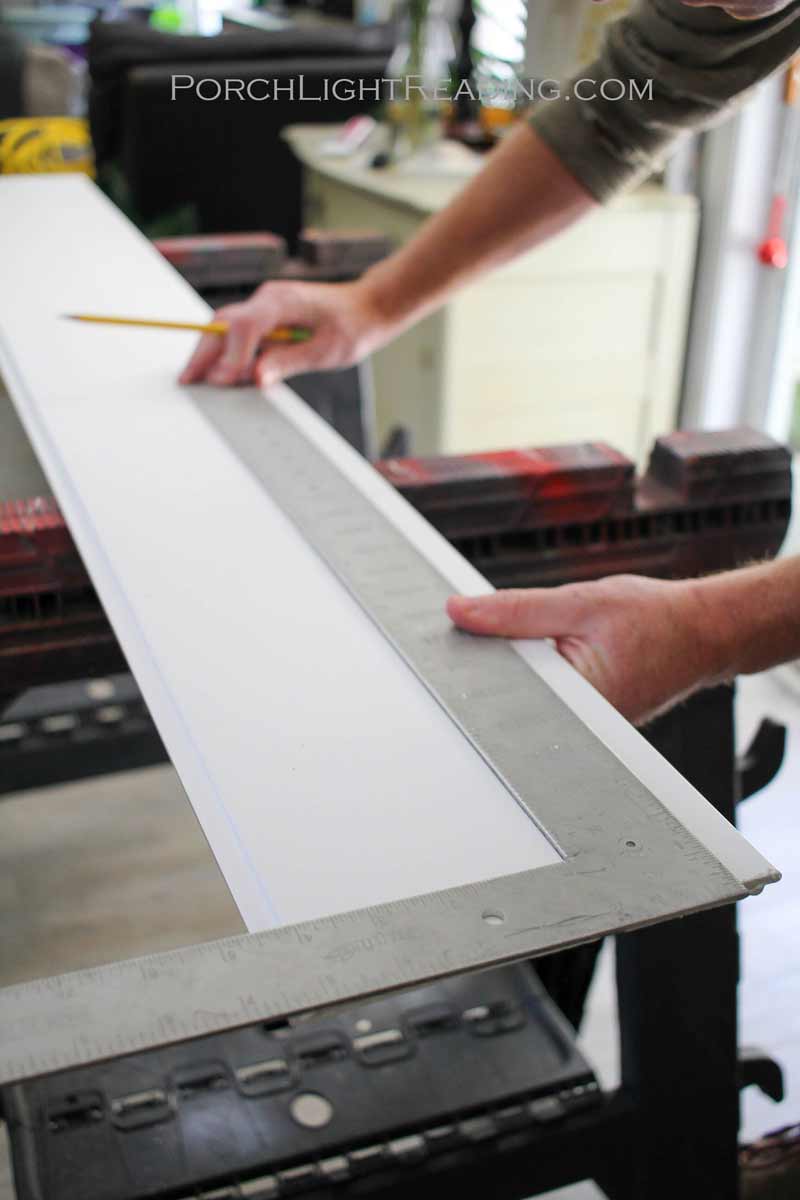
Once we had our first plank in place we secured it using a brad nailer. Others may have added liquid nails, but since we are a military family, there is a constant voice in the back of our head saying you never know when you’ll be moving next. For that reason we decided against liquid nails since it can become a mess if you ever want to remove the planks from the wall.
We continued along the kitchen in this manor. Measuring the planks, cutting with the miter saw, securing with brad nailer.

CUTTING AROUND ELECTRICAL OUTLET
Our first problem came with the electrical outlet. A bit of measuring was involved but the real problem was accidentally flipping the tongue and groove panel upside down. After making the perfect cut using our oscillating tool and jigsaw, we lined up the board only to realize the groove we needed to match it to was on the opposite side. Sadly a trick that caught us a couple of times before we said a few words, tossed the board, and decided to line the board up after making our marks with a pencil and before cutting the board.
*Note- We were marking and cutting the backside of the plank so that we wouldn’t scuff up the nice painted side.
Related Posts


BEADBOARD PLANK AROUND WINDOW
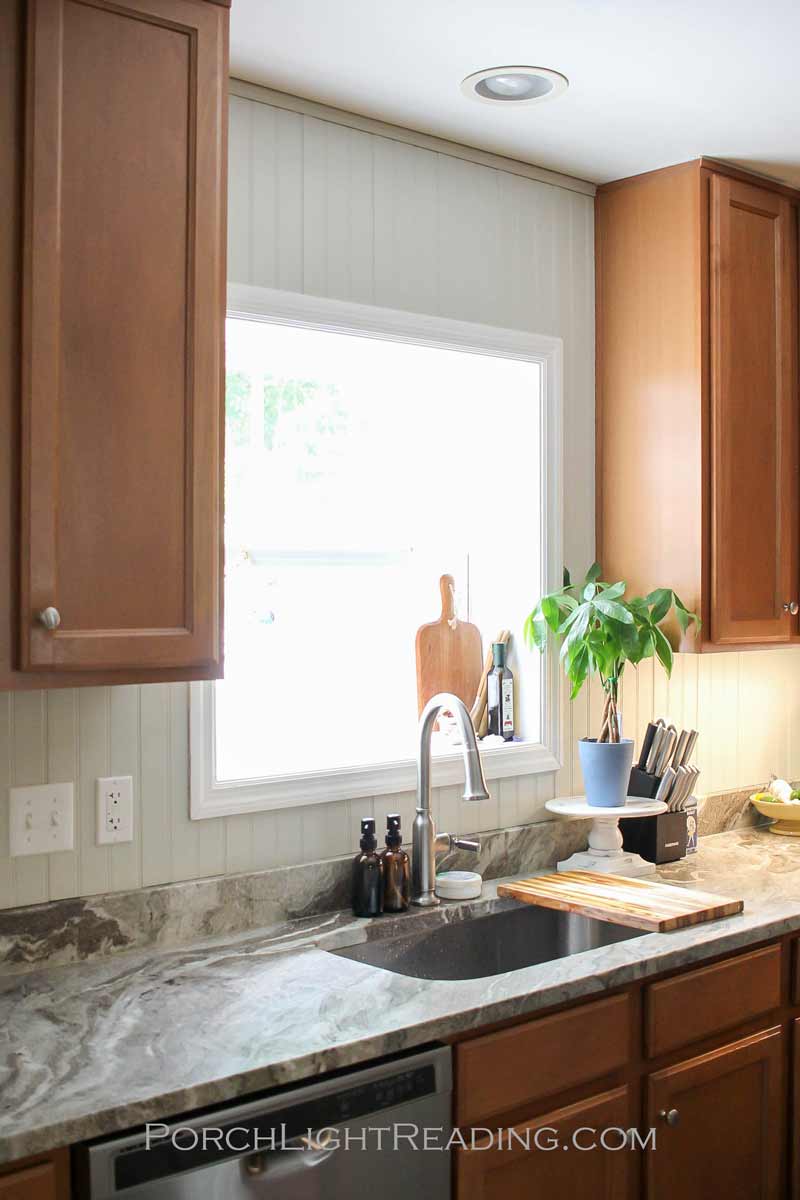
Around our kitchen sink is a beautiful recessed window looking out into our backyard. We decided to bring the beadboard all the way up to the ceiling to give a nice cohesive look and to also make our window look taller. This meant that part of the beadboard plank needed to be cut lengthwise to fit around the tall kitchen cabinates like a puzzle piece.

With a table saw this would have been an easy cut to make, but with our tools on hand, we had to freestyle it using our jigsaw. We measured the correct length and left a bit off the top to account for the trim we would be adding along the top of the ceiling in that area.
BEADBOARD PANTRY
After making our way under the cabinets and behind the stove, we finally made it to the kitchen pantry. At one point we thought we were going to stop right after the stove. But after seeing this work in progress we decided it would look much nicer to wrap the beadboard backsplash around the pantry instead of ending it at the corner.
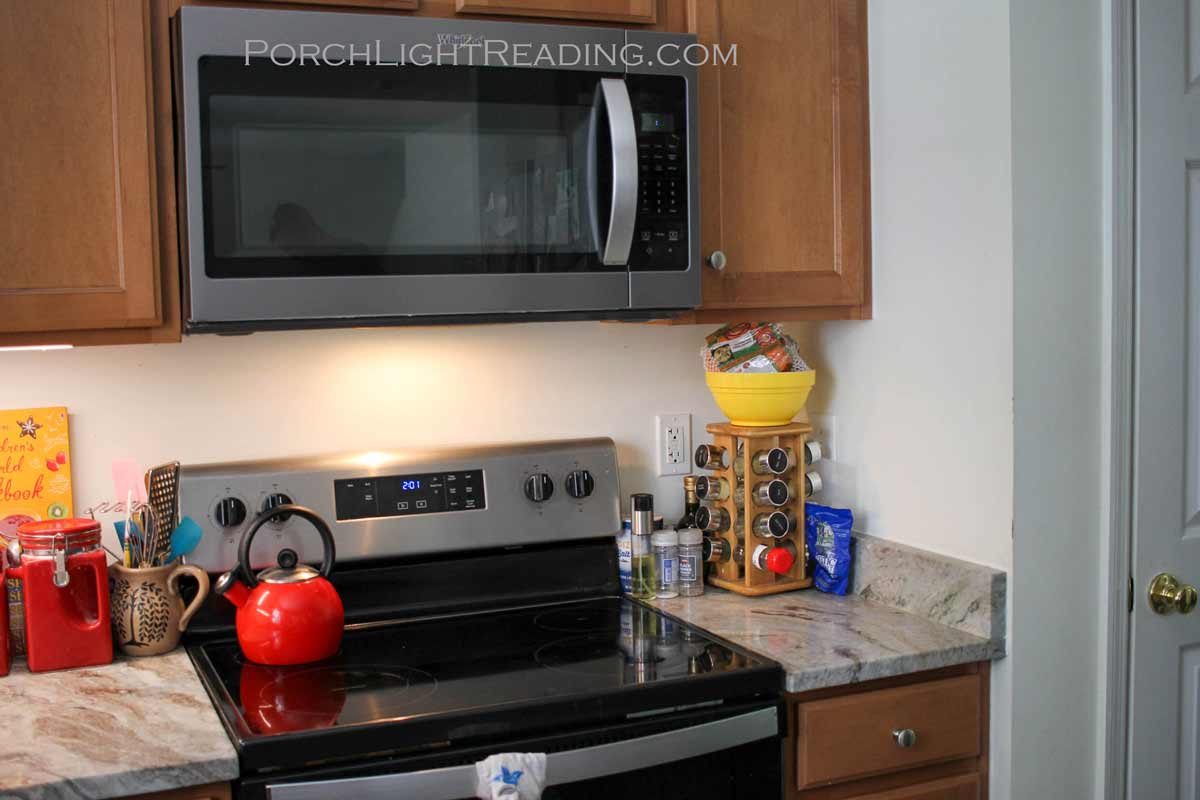
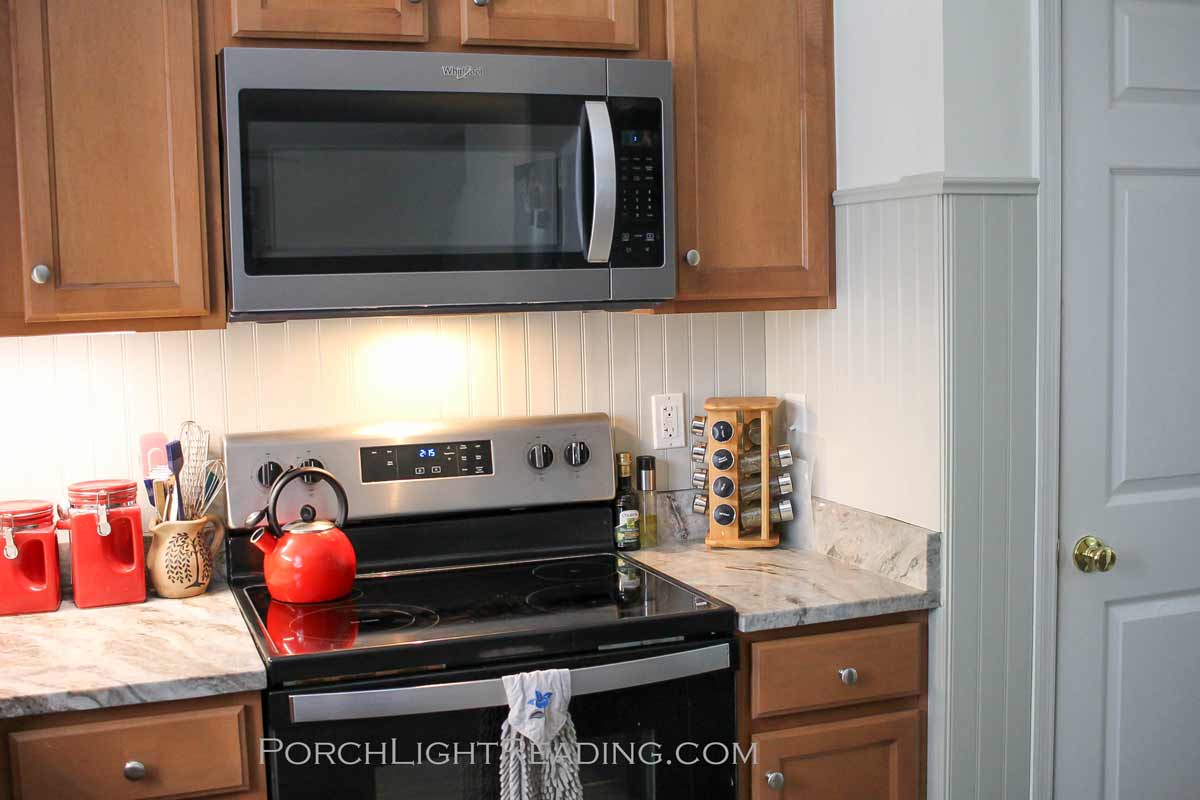
This decision completely changed the look of our kitchen and I am in love with it!
*Note- At the corner of the wall we flipped the tongue and groove next to the pantry door, upside down. This created a nice little decorative edge were the corners meet but it can also be covered with a cap in the future if we choose. Note- A trick we also used in other areas. Using the flat part of the tongue and groove edge to finish off a wall instead of adding trim.

DID YOU PUT BEADBOARD BEHIND THE REFRIGERATOR
Instead of putting beadboard behind the refrigerator where it wouldn’t be seen, we decided to just do two boards on either side so that it gives the appearance of a beadboard wall behind it. This is the only location for a refrigerator so it will not be a problem in the future.
COVERING THE BRAD NAILS
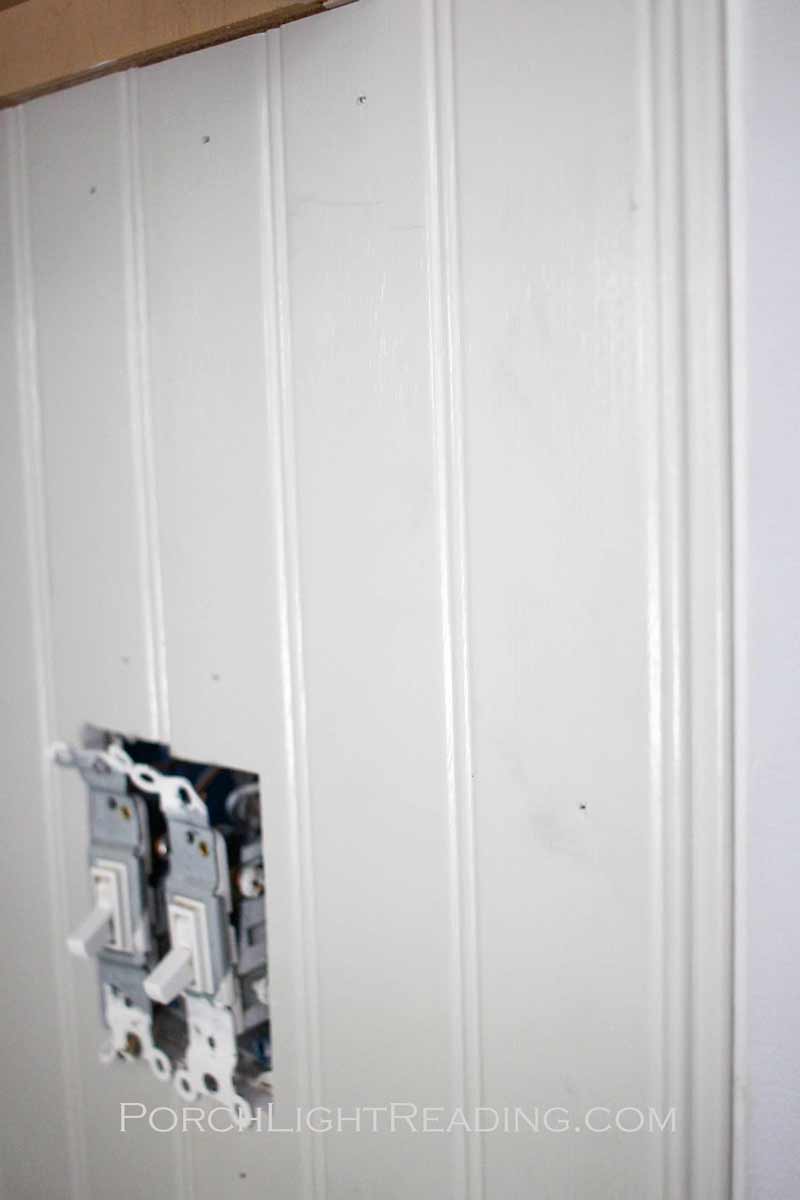
After the beadboard backsplash installation was complete, we went around the kitchen and covered every brad nail hole with wood filler and smoothed it out using a putty knife. Once dry we took a small paintbrush and painted over each hole with the same color that we used for the planks, Useful Grey.
SEEING THE PLANK SEAMS
Sadly, after a few planks were installed we started to notice that you could see the beadbaord plank seams at every 5 inches. Something that may not have been a problem if we had used the 4’x8′ beadboard sheets. Although we had tighten the tongue and groove planks as close as they would fit, it was apparent that from one angle the seams would show. Had we flipped the boards and place the tongue and groove panels the opposite way, the seams wouldn’t have been as noticeable.
To fix this problem we painted over each seam several times to built up a layer of paint that matched the manufactured beadboard grooves.

CHALKING AND TRIM
After two days of what we thought was a simple project, we were finally ready for the finishing touches! We added trim to the tops of the half walls and chalking around the cabinets and counters.
This beadboard backsplash installation was a great alternative to a traditional backsplash and one that we were able to complete for a reasonable price.
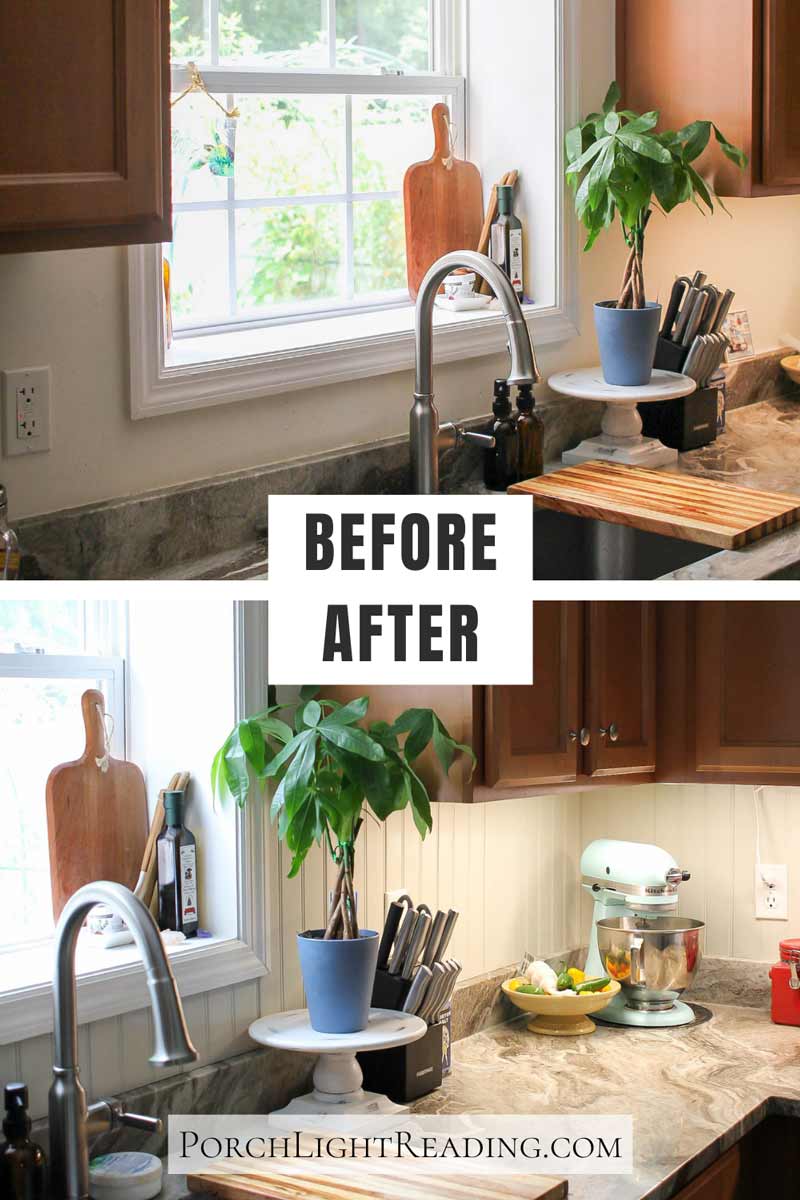
BEFORE AND AFTER PHOTOS
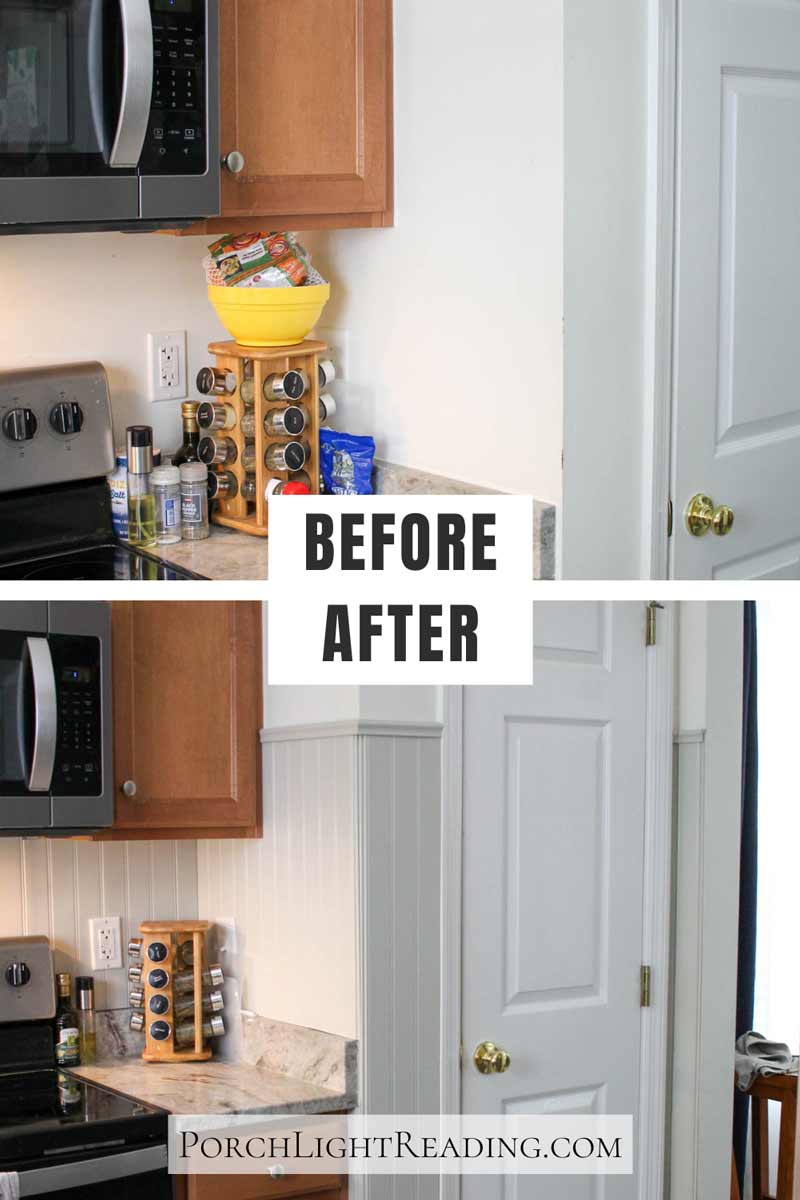
BEADBOARD BACKSPLASH INSTILLATION TIPS
- The PVC planks are not always square. It’s important to square them off when making cuts.
- Double check that measurement markings are placed correctly on the tongue and groove plank before cutting.
- Cut the PVC plank to allow the electrical outlets to screw into the new plank and not the wall behind it.
- By thinking ahead to different walls, we were able to use the flat part of the tongue and groove edge to end the beadboard instead of adding a trim piece.
- The PVC beadbaord tongue and groove seams are more noticeable from one direction than the other.
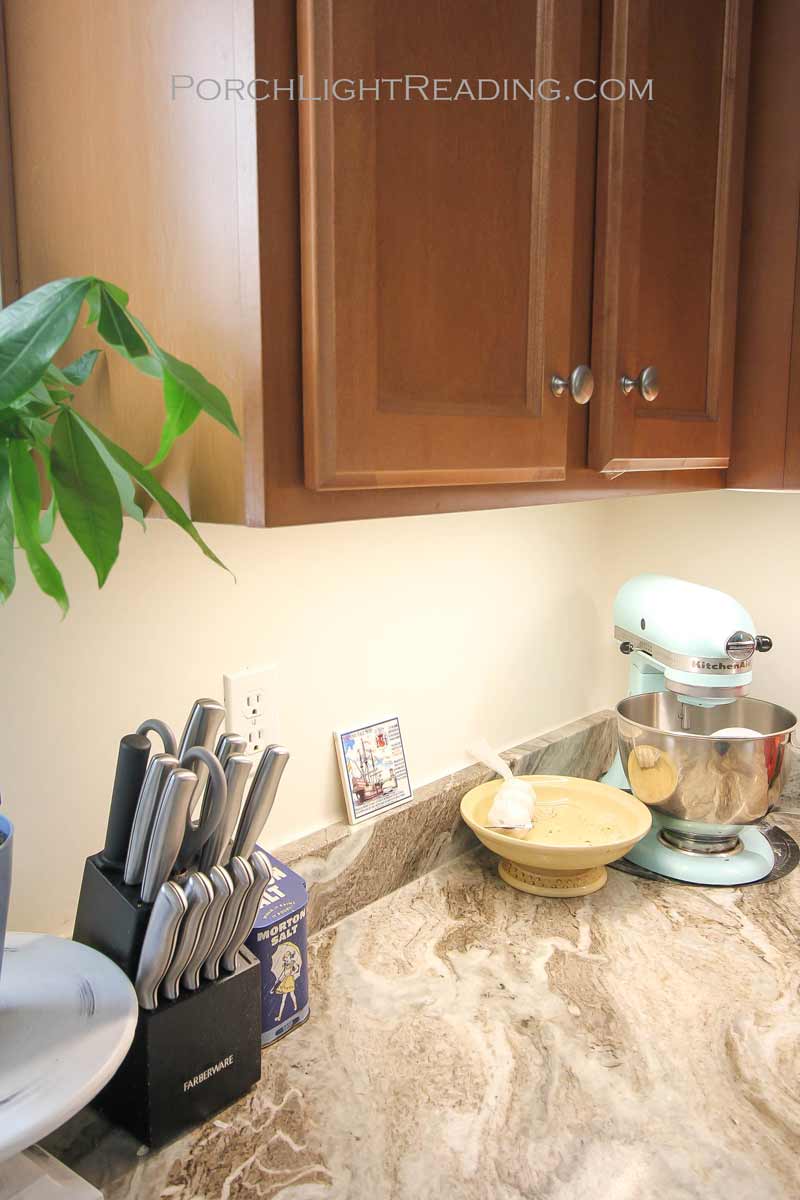
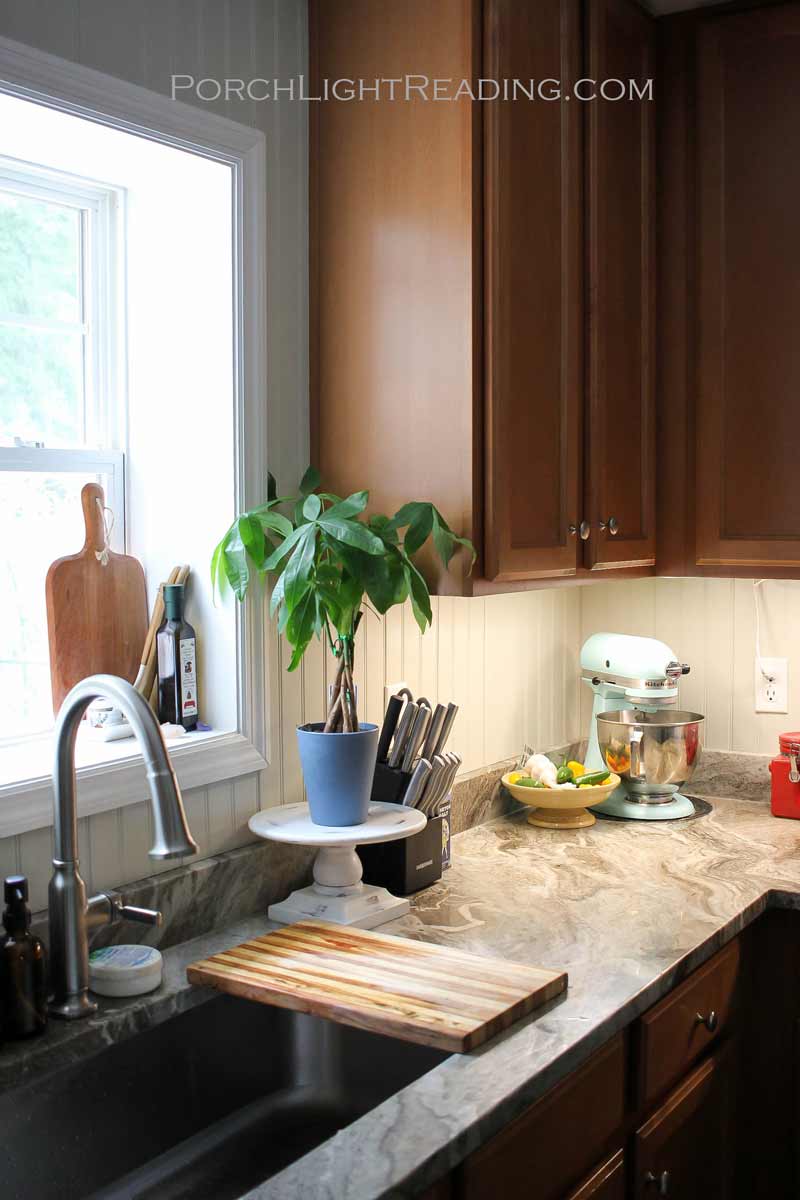
This project took a two full days to finish with a small part of the first day going towards buying supplies. There was a lot of painting and repainting that went into making the seams look flawless and a few boards were wasted by small mistakes. In the end this look really goes great with our small kitchen and we are ready for all the homemade spaghetti sauces now that we have a simple backsplash that can be wiped clean!
YOU ALSO MIGHT LIKE



Like this idea? Save this post to Pinterest for later by clicking the Pin below!